
Viral social media posts today are hyper-visual, and your business posts must follow suit. As attention spans shrink, it’s even more important to showcase your brand’s fabulosity with stunning, beautiful imagery. That makes hiring a professional graphic designer one of the best investments you can make in your business (except for downloading Edgar, of course).
Create free business graphics
If high-end graphic design and branding strategy is just out of reach, you can get by creating custom business graphics on your own. All you need is an online graphic tool or two up your sleeve. With any of these high-quality, no-cost online graphics editors, you can make free marketing graphics online(or any ol’ graphics for any ol’ reason).
The following apps are all “cheap-as-free,” meaning they don’t require a single digit of credit card information – and make creating gorgeous business images and graphics a breeze.
If you’re faint of heart or just lacking in funds, check out our handy dandy roundup of amazing (free) apps!
Canva
What it’s great for: Easy, next-level customization of your social media graphics

Canva is so good it’s almost like cheating at social media. Canva’s super easy interface helps you bring your visual design to life, with tons of layout options, unique fonts, beautiful illustrations, and drag-and-drop assets – from charts to over 1,000,000 free images.
Canva gives you that top-notch designer look on a $0 budget. Let’s check out how you can create free graphics with Canva.
How to use it:
- Head over to canva.com (or download their app) and sign up for free.
- At the top of the page, you’ll see a slider bar that says “Create a design” – you can choose from several options, but for the purpose of this example, pick “Blog Graphic.”
- Click on “Layouts” and select a template for your graphic – their templates provide inspiration if you’re not sure what you want to say just yet.
- On the top left, you’ll see a search bar – you can use that to find a graphic from their royalty-free library (or you can choose “Uploads” at the bottom of the left-hand nav bar to upload your own images).
- Click on “Elements” to add shapes, illustrations, lines, icons, and more (if you wanna).
- Click on “Text” to write your awesomely inspirational/catchy content – and don’t be afraid to experiment with all their different (totally free) fonts!
- Click on “Background” if you want to add a little texture.
- That’s it! At the top right, you have options to share or download to your computer. Easy!
Picmonkey
What it’s great for: Perfectly sized Facebook Timeline covers (with flair!)
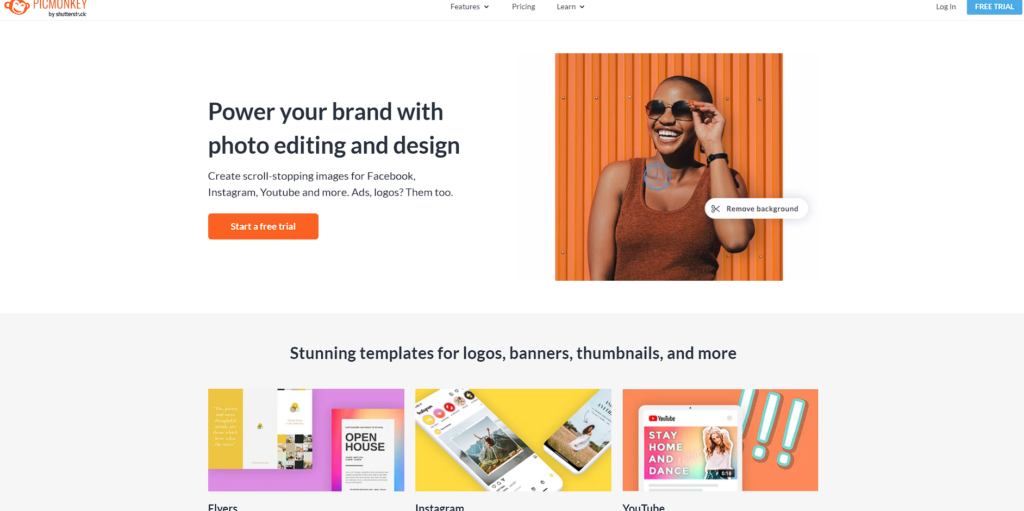
Picmonkey is one of our favorite business graphic tools, ever. Their robust “freemium” version has the option of paying for extras, but you can accomplish a lot before you have to think about upgrading. There are special themes added for every season – like Halloween-flavored overlays or Valentine’s Day sticker styles. You can also export your gorgeous creations in different file formats, like .jpg, .gif, or .png.
You’ll fall in love their fabulous collection of web fonts, too. A few fancy fonts are exclusively available to the pro users, but those free font collections are still swoon-worthy! Photoshop fiends will appreciate that Picmonkey has ready-made brushes that include blush, mascara, and even teeth whitening – in addition to the plain ol’ red eye fixer. Once you try it, you won’t post another pic from girls’ night out without sending it through Picmonkey first!
How to use it:
- Go to Picmonkey.com and click on “Collage.”
- Change the size to the specific dimensions you need or choose from their pre-made collages. They have Pinterest and Facebook timeline sized templates at the ready!
- Upload your photos and place them in your new collage.
- Save this image to your desktop.
- Go BACK to Picmonkey.com and click on “Edit.”
- Open up that collage image that you just created.
- Make it awesome. Use stickers, text, frame it, or import a texture of your own as an overlay!
- Save it to your desktop.
- Upload to Facebook!
Infogr.am
What it’s great for: Making your own infographics
Infographics aren’t just for giant research firms and Buzzfeed anymore! These visual aids are highly shareable, and a good infographic can go viral – quickly. Infogr.am makes it super simple to put together an infographic – no design training required!
Not sure what should be in your infographic? Here’s an example of an infographic report for a business coach to get you started:
Start with a graphic representation of your Ideal Client Persona(s). You don’t need to draw them out! We recommend using the “pyramid” or “funnel” charts to describe a few of the most important priorities and pain points of your ideal client(s). This sets up your stats by showing who you work with successfully.
Once you’ve got your Ideal Client Persona – or Personas – either grab a calculator for some wicked simple math OR just enter this info from wherever you’re tracking your key stats. (Infogr.am lets you upload/import data that you already have, too, which makes all of this easy-peasy and fully automatic!)
Let’s make your numbers look pretty!
- DISPLAY: Total number of minutes you’ve spent coaching on Skype, Hangouts, or on the phone
- DISPLAY: Total number of “homework” assignments your clients have completed this year
- GRAPH: The number of new clients YOUR clients have booked since working with you this year
- DISPLAY: How much money your clients have made since working with you
- GRAND FINALE: A large equation showing how much money your clients make for every minute they coach with you
How to use it:
- Go to https://infogr.am and log in with your email, Facebook, LinkedIn, or Twitter account.
- Choose from one of the three available themes – Infographic/Report, Chart/Graph, or Map – to find the infographic design you love. (Or you can click on “Data import or source” to start with your numbers.)
- Pick a theme that you like – from there, the first thing you’ll see is an onscreen tutorial. Definitely pay attention – it’s super helpful!
- To your right, you’ll see the “Infographic settings” bar that lets you set the width, theme, logo, and specify a share button. Infographics are so visually stimulating, you might want to opt for the Pinterest share button. (You can always share from Pinterest to your other social profiles.)
- To your left, you’ll see several icons. Clicking on them lets you customize your infographic with a map, a chart, text boxes, pictures, data, and even videos.
- Give your infographic a title and a description. Keep your keywords and key phrases in mind for your title, and be as accurate as possible.
- Next, decide on your permission settings. Do you want to make this public? Or is it just for your own use for client meetings? Would you like to password protect it?
- If you’ll be sharing your infographic publicly, customize a URL for maximum SEO goodness.
- Enter an email address to share the infographic with clients or to send it to yourself.
- Click “Share” to send out your fabulous infographic to your social networks, or to get an embed link to add it to your blog or website!
Pixlr
What it’s great for:“I hate how complicated Adobe Photoshop is”
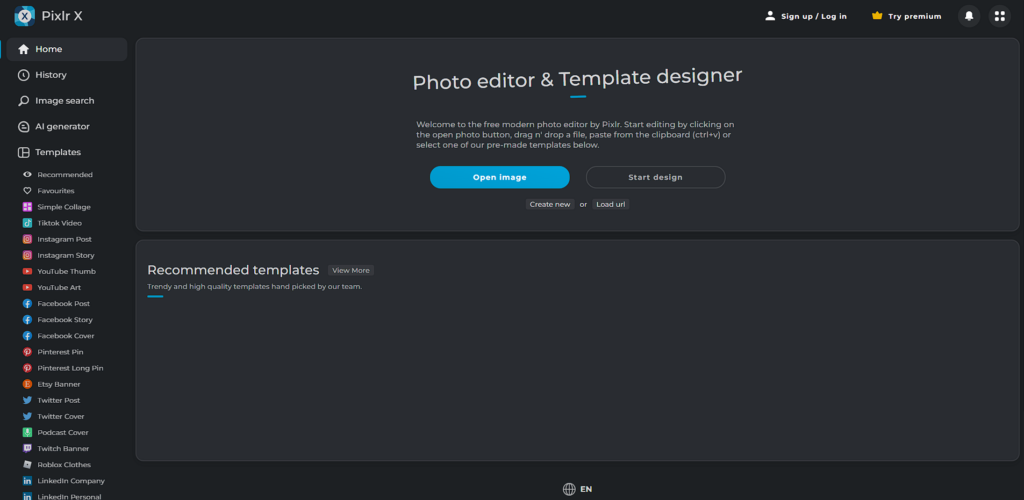
Pixlr is a photo editing tool, often compared to Photoshop. It has many of the same features, and guess what, it’s free! The beauty of the tool? It’s much more user-friendly than Photoshop.
You can make easy graphics using the templates and edit photos. If you want to layer images or change the shape, size, or quality of an image, you can use Pixlr.
It’s also a great tool if you want to remove the background from an image. Perhaps your company logo needs a transparent background, you can create this using Pixler.
How to use it:
- Go to pixlr.com to download the app, or search your favorite app store for “Pixlr,” or just use the desktop version (which we thoughtfully screenshotted above).
- Install the app and let the magic begin.
- How you use the tool will depend on what you want to achieve; to edit a photo, click on open image.
- Select a file from your computer or phone.
- Use the tool bar on the left to make the edits you want. It’s pretty self-explanatory; change the size, delete an element, add pixilation, change the colors.
- Once you’re done you just click download and the image will be saved on your device.
- If you are creating a graphic, you can use one of the pre designed templates Pixlr offers.
- Just add your own images and elements and then download the final product.
![]()
Prezi
What it’s great for: Interactive presentations when you’re allergic to PowerPoint
Prezi‘s custom themes are so simple and user friendly that you would hardly believe the fabulous presentations that come out the other end! Why not try using Prezi to create an interactive video for your website’s list-building opt-in?
With tools like ViewedIt or Recordit, you can record yourself walking through a beautifully designed presentation (or demo!) and never have to appear on camera. Don’t let a lack of expensive video recorders or self-consciousness get in the way of your next viral video!
How to use it:
- Sign up for their free package (unless you’re ready to get techie with it) and start to play right here.
- Once you pick your industry, you’ll be given an interactive tutorial (it’s super helpful, so don’t skip it).
- Choose a template or start a blank “prezi.” (You really can’t go wrong with their awesome templates)
- On the left hand side is where you’ll find your navigation. Click from “slide” to “slide” or select “Edit Path” to customize the route Prezi takes through your presentation.
- From the top navigation ribbon where it says “Insert,” you can select options to add text and images, view a tutorial, add background music, and to share your new prezi with your networks.
- To see what your prezi looks like when it’s all done, click on the “Present” blue button at the top right.
- When you’re done, you can share it right from Prezi! (Downloading as a .pdf is requires some dough, but you can share a link to your prezi for free OR present remotely to anyone around the world!)
![]()
Tagul
What it’s great for: Super simple and pretty word clouds

Tagul is an easy tool for creating beautiful graphics out of word clouds or tag clouds, which is awesome all on its own. But Tagul can actually make your SEO better, too!
Just copy and paste your next blog post (or the URL of any page) into Tagul to see what keywords you’re using most often – as words increase in frequency, they increase in size. What words stand out most? Which phrases or keywords are you most commonly using? If you’re not SEO optimizing for those words, try rewriting a few sentences and make sure your choice keywords pop out.
How to use it:
- Visit tagul.com and click “Create Now”
- Click “Import words” and either copy and paste text from your blog or enter a URL to generate a word cloud.
- Choose a from dozens of cool shapes, fonts, layout (to change the way the words are displayed, such as horizontal or random), then hit “Visualize” to see your word cloud.
- Hint: Chose “Colors and Animations” to customize the colors of the cloud to match your branding – or add animations like “zoom” or “rotate” to your word cloud. (Click on “Edit Mode” or “Animation Mode” to see your changes before you save your final version.)
- Finally, you can save or print your creation!
- NOTE: You’ll def want to sign up with Tagul before you get started to enable saving and downloading of your word cloud. While Tagul has both free and premium tiers, it’s completely free for non-commercial use when you sign up!
![]()
GIPHY Capture
What it’s great for: When it would just be easier just to make your own darn .GIF!
GIPHY Capture is GIPHY’s amazingly easy-to-use .gif maker app. While we hope that GIPHY never stops being the go-to for hilarious, ready-made .gifs, GIPHY Capture is there for you when you don’t have time to search through their archives, or if you want to make a custom .gif for your business – to show how to use a feature of your product, for example, or capture just the right moment in a video.
Capture allows you to capture anything on your screen in just a couple of clicks. It’s. So. Easy. (The short video above is pretty darn hilarious and shows you how it works, too.)
How to use it:
- Head over to giphy.com/apps/giphycapture and download the app. (It’s just for Macs right now – sorry, PC users.)
- Do the whole download/drag into Applications folder thing you’d do for any app. Once installed, click on the GIPHY Capture icon in your dock.
- A little video-like window will pop up, and you can move it to any part of your screen. When you’re ready to record your .gif, simply click on the red circle “record” button – and just click again to stop recording.
- A thumbnail of your new .gif will appear in the bottom of the Capture window. Click on it to review, edit, and save your brand-spanking-new .gif!
- Capture lets you change the size, speed, and even direction of your awesome lil’ animated image file, so have fun!
![]()
CapCut
What it’s great for: Create social media video in your phone or desktop
Real talk: The .gif above is a joke, but Capcut is not. Capcut is like that hidden gem of a video and image editor – it may not look super flashy, but you’re in for a whole lot of creative fun without breaking the bank. Not only work great for creating short videos for social media (and you can do it on your phone) but it also has an online image editor (Canva dupe!).
Perhaps the greatest feature of all is that it’s a complete in-browser – no downloads, no constant pop-ups asking you to update software every. single. day. But it also has a mobile version in case you need a quick editing tool on your phone.
How to use it:
- Go to Capcut.com and click on “Sign Up for Free.”
- After creating your account, Go to “Create New” from the left-hand navigation bar and then click “Create New Image”
- Here’s where things will start to look a lot like Photoshop. Enter in the image dimensions.
- Select a Template to start or start from zero using their elements.
- Go to “Export” and choose the file format and quality that you want.
- NOTE: You can’t go wrong skimming through the walk-through provided by CapCut.
![]()
Animoto
What it’s great for: Viral videos for the camera shy

Even if you’re scared to death of appearing live on camera, you can still make viral videos to help market your business. Animoto is a freemium tool (this means they offer both a free and a paid version) that creates breathtaking videos from your pictures. The easiest way to get started on this one is to import your photos from Facebook or Instagram.
But you can get way more creative than that! For example, instead of uploading pictures of your face, create your own pictures that feature only text copied from your squeeze page. Create a video using the “Birthday Gift” style that you can embed onto your opt-in page. Now your free gift really looks like a free gift!
How to use it:
- Go to animoto.com and click on the “Get Started” button. It will prompt you to “Personalize your experience,” which is great! Pick whether you’re using Animoto for business, personal use, and more!
- Once you choose a video template, choose what style of video you want to make. You can choose one of their pre-made storyboards or start from scratch.
- Start uploading your images or video files, and have fun customizing your video! When you’re done, click “Preview.” If you’re happy, click “Produce” and enter all the deets about your video. Choose your music, add text, and customize your 30-second masterpiece.
- That’s it! Share your video on your social networks or download it to your desktop.
- NOTE: If you stick with their free version, your video will have an Animoto watermark. Upgrading removes it, which we think is worth it – their “personal plan” is pretty inexpensive.
Get Creating
There are tonnes of other tools out there to create free marketing graphics, but these are the ones we’ve tried and tested and can highly rate. We narrowed it down to include a tool for different elements of your marketing content- from Instagram stories to LinkedIn banners and how-to videos. You can do it all with these 9 tools!
Did we miss one? What are YOUR favorite free graphics tools online? Let us know!

1 Comment
Thank you very much! I am amazed you posted how to use each one. Fantastic! Love reading your blog posts.