

In today’s guest post, Pinterest Strategist, Laura Rike, shares a step-by-step process for how you can use Pinterest to grow your email list.
Pinterest is far more than a social media platform and a powerful search engine. It is the perfect place to leverage visibility while simultaneously attracting and obtaining email subscribers when you know how to grow your email list with Pinterest.
But before diving into how to grow your email list with Pinterest, let’s start with some core facts.
Why Pinterest?
There are many reasons why Pinterest should be a cornerstone part of any business’ marketing.
But instead of hitting on each one, let’s highlight a couple of key facts:
- Pinterest had a reported 416 million active monthly users by the second quarter of 2020.
- Pinterest had 1.08 billion visits in September 2020.
- 90% of those surveyed confirm that the platform helps them make decisions on purchases.
- Pinterest leads more proportionate traffic to shopping sites than other social media platforms.
Pinterest is a Buyer-Friendly Platform
Pinterest is a place that users go to in order to get information before buying.
Whether your business deals in physical products, information products, services, or just about anything else, it is an ideal place to engage buyers.
This is particularly true when businesses create posts (called “Pins”) that look to build relationships and also provide information to educate and influence purchase decisions.
Pinterest is a Search Engine
Unlike other platforms where a post today is forgotten tomorrow, Pinterest allows your posts to be searchable, discoverable and accessible weeks, months and even years later.
That’s because Pinterest is built with a search engine component.
Keywords that work in other places work on Pinterest. What’s more, posts that contain keywords can be discoverable on Google. This gives you the power to have your posts truly evergreen.
Because Pins and boards don’t lose their potency over time, it lets you track how popular your Pin is over time. This means that you can see the return on investment of your efforts on the platform over time.
And given that Pinterest leverages both keywords and hashtags for discoverability, incorporating these into your posts and boards to make them more search-friendly lets people who are actively looking for the solution you offer find you.
It also means that, unlike other platforms, on Pinterest, you can attract an audience further along in the buying cycle.
But if you aren’t already leveraging Pinterest to attract your ideal clients, you’re not alone. Many businesses simply don’t know of the potential or the opportunity. And that gives business owners who get on the platform and leverage the reach and connection an even greater strategic advantage.
Now that you know that the numbers of visitors are high, the potential is great, the metrics are measurable and your efforts don’t disappear as soon as you are done posting, let’s look at exactly how to grow your email list with Pinterest.
What You Need to Grow Your Email List with Pinterest
To grow your email list on Pinterest, you will need several items.
Likely you already have some of these items if you have been growing an email list on your website or on any other platform.
If not, you’ll want to add these to your toolkit:
- An anchor page or post
- A lead magnet related to that page or post
- An opt-in form
- An autoresponder service or plugin
On top of those items, you will also need a few things that are specific to Pinterest:
- A Pinterest business account
- Completed Business Profile
- At least one pinnable image
- At least one Pinterest board to house the pinnable image(s)
Now let’s cover them one by one.
Step 1: An anchor website page or post.
Create a page or post or pick an already existing page or post that you will use as an anchor on your website.
It can be:
- A page with only an opt-in on it
- A page with cornerstone content on it
- A blog post
Since you will be looking to drive traffic to it, to get more bang for your buck you’ll want to use a page or post that is of high value (do you have one that received a higher amount of traffic? If so, use it or make one like it).
And you will want it to be on a topic that your ideal client would be interested in on their journey to buying what you offer.
You can increase the ability to grow your email list by adding social media share buttons to allow visitors to share your content with others.
Because the page or post will be what you link to on Pinterest in one of the later steps, you will want to make it image-rich to match the image-focus on Pinterest.
Step 2: A lead magnet
Create a free lead magnet or use one you already have that is not only of high value but is highly relevant to the anchor page or post you created in Step 1 above.
That way, it will seem to your audience to be the next logical step in their journey with you.
For instance, if you have a post on the importance of life coaching, the lead magnet that would work well is something like a checklist or top 10 things to consider when hiring a life coach.
Another effective lead magnet would be one that shows some next logical steps after the ideal client consumes the anchor post like taking a deeper dive into what the page or post reveals.
Or it can touch on something that would follow sequentially after your ideal client has consumed the anchor page or post. Things like coupons, worksheets, and infographics can work well for this.
On top of that, lead magnets that help shorten time, spell out specific steps, provide free tools, offer a discount, provide a reward or otherwise make the journey to the solution easier or more effective are great lead magnets.
Since Pinterest is an image-focused platform, it is strategic to have a lead magnet that is also image-rich.

Step 3: An opt-in form
Once the ideal client has read the anchor page or post, you will want to capture their email address so that you can communicate with them moving forward. This will allow you to build a relationship, uncover preferences and provide appropriate offers tailored to your ideal client’s needs and desires.
To do so, you’ll need a mechanism for them to give you their email.
Usually, this is done by providing a form that the ideal client signs up with to get the lead magnet from Step 2 above.
That form mechanism is an opt-in form. It’s the box that pops up or the link that opens to a form with fields for your ideal client to insert their name and email address.
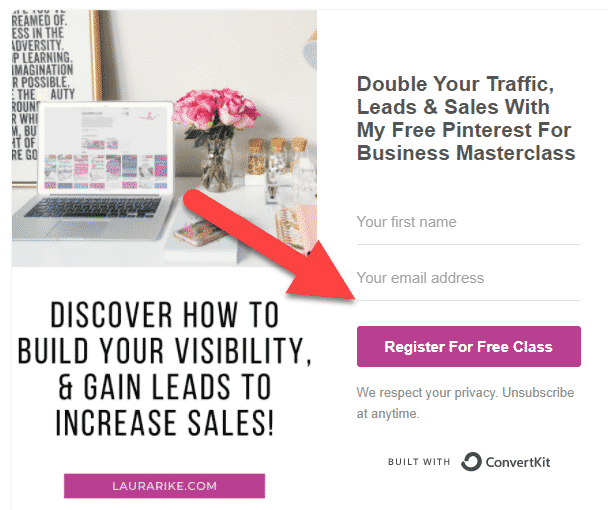
Usually, the opt-in form is provided by an autoresponder service, such as ConvertKit, MailChimp, or ActiveCampaign. (Learn more about what an autoresponder service does in the next step!
Step 4: An autoresponder service or plugin
This is what connects everything in Steps 1 through 3 together.
The autoresponder service or plugin allows the opt-in form to appear on your website’s anchor page or post to collect the name and email address of your ideal client, deliver the lead magnet and add the ideal client’s information to an email list for future connection.
As mentioned above, some of the most effective autoresponders come as a subscription service that provides the technology to make this happen automatically.
When you are deciding which service to use, know there are a lot of options. Some are free, some cost. And some come with additional services built-in.
It’s important to consider ahead of time what your present and future needs will be.
If you are looking to invite a lot of people to become subscribers to your list, make sure your autoresponder provider service is reputable and can handle the influx of new people you are looking to attract.
Of course, it will also be key as you look into how to grow your email list with Pinterest that the service or plugin also has a high deliverability rate so that your emails actually reach the subscribers.
Lastly, make sure that the autoresponder service or plugin provides tools to analyze what is happening with your send rate, deliverability rate, and open rate. If you are looking to leverage an email list, these basic metrics are key.

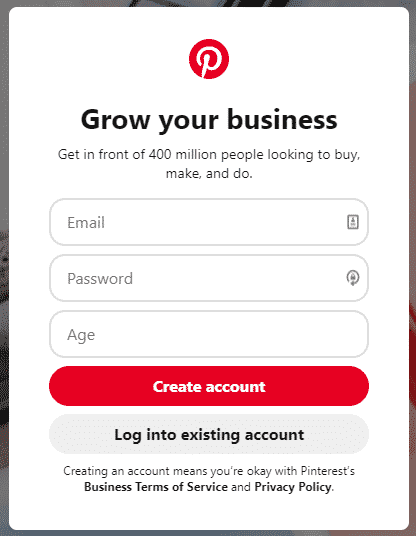
Step 5: A Pinterest business account
In order to be on Pinterest and make your presence effective, you’ll want to sign up for a Pinterest business account. It takes about five minutes.
The Pinterest business account is free and provides additional, valuable features to a business owner, such as analytics and advertising.
To sign up to get a free business account, simply complete the information here.
The information requested is basic. And approval is usually nearly immediate.
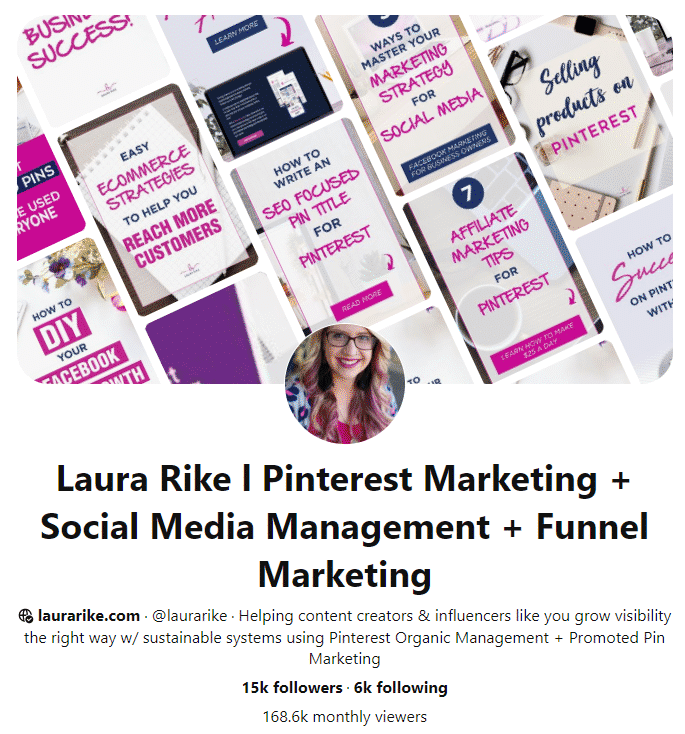
Step 6: A Completed Business Profile
Like most social media platforms, Pinterest provides a space for you to provide a brief description of what your business is about.
When attracting people to your Pinterest Pins and boards who do not already know you, having your profile completed helps.
On top of this, Pinterest allows you to insert a website link in your profile.
To take full advantage of this, consider inserting a link to one of your opt-in pages that offer a lead magnet your ideal client would like.
Step 7. At Least One Pinnable Image
Moving people from Pinterest to your website is an easy process. That’s because Pinterest has set the platform up to allow for it.
Unlike other social media sites that discourage moving off the platform, Pinterest provides a field to insert your website URL. That way, when someone clicks a properly set-up post, it automatically takes the person to the website provided in the form field.
To grow your email list with Pinterest, you need to create a post:
- Click ‘create post’
- Insert the post description
- Insert the URL you want people to go to
- Add a pinnable image
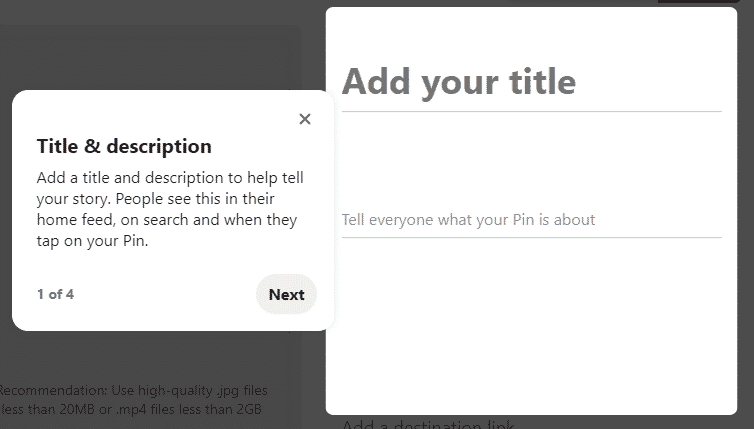
The image should grab attention and be worthy of enticing your ideal clients to click the post and head over to the anchor page or post on your website.
Unlike many platforms that discourage duplicate content, Pinterest doesn’t. In fact, you are more likely to attract people interested in your post (called “Pins”) and get them to click over to your website if you have the same information on more than one type and style of image.
For example, if you were to post a quote, you might consider posting the exact same quote not only in white and black but in pink and black, brown and yellow, green and blue, with different fonts, with a photo in the background, with a totally different photo in the background, etc. In this example, you could attract different people who are responding to different visual presentations of the same post.
But note these two important considerations:
1. You don’t want to post all the different variations at the same time. By dripping them out, you increase the likelihood that someone will find the pin they like while searching.
2. Pinterest gives preference to the first board where you first place your pin. If you place the pin on multiple boards, start with your best choice first.
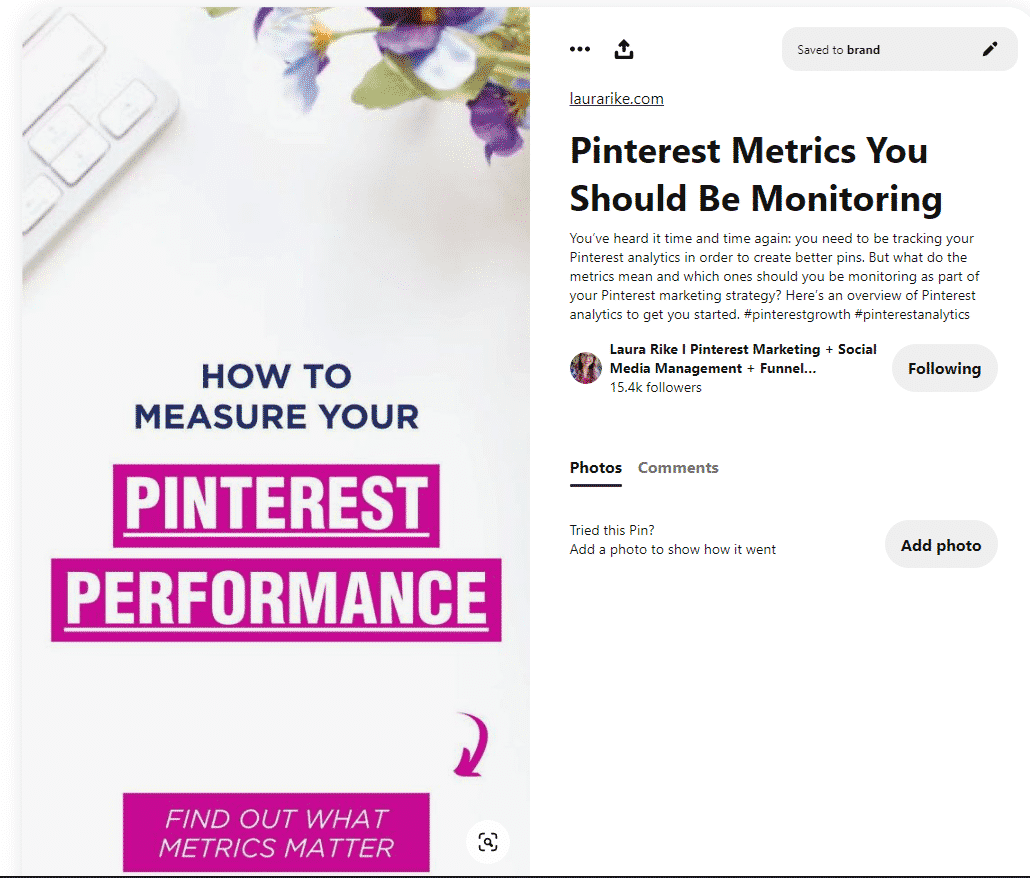
For each pinnable Pin you are using, you will want to highlight not only the anchor page or post you want your ideal client to go to but also the free lead magnet.
To do so:
- Get an image that you want to use to grab the attention of your ideal client.
- In that image, add a smaller image of your lead magnet.
- Overlay text that advises that the lead magnet is free, such as ‘free download’ or ‘get your checklist’ or ‘get a coupon.’
This will help make your ideal client aware while they are looking at your post on Pinterest that there is a free lead magnet.
Of course, you will need some type of photo editing software. You will want a photo editing software that has the ability to not only add an image overlay of the lead magnet to your background image but also add in the text. While there are many options out there, Adobe and Canva are two different options that work.
To take your work up a notch as you navigate how to grow your email list on Pinterest, consider split testing your Pins:
- Have one Pin contain the URL to the anchor page or post that the lead magnet is on.
- Have another Pin contain the URL that links directly to the opt-in form.
Since your ideal client may be just as excited about the free lead magnet as they are over your anchor page or post, it is worth doing this simple A/B test to see which one your audience prefers.
Step 8: At Least One Pinterest Board to House the Pinnable Image(s).
Unlike other social media platforms where your post lays in a linear progression soon to be buried in your feed, Pinterest creates more of a constellation of posts.
It does this by letting you place your posts on boards.
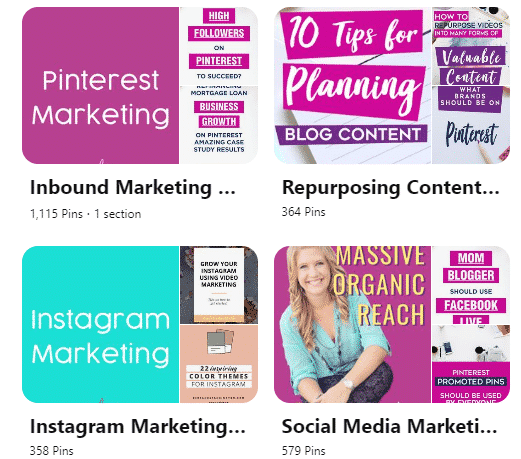
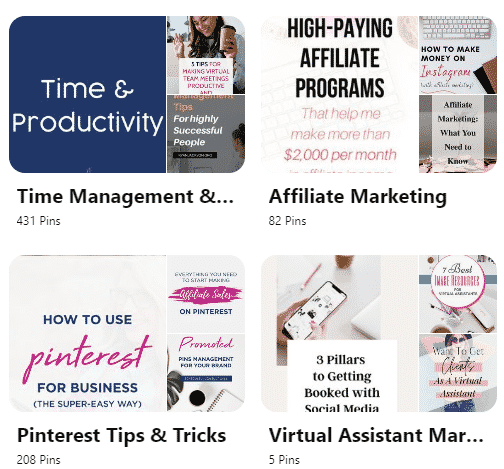
These boards help you and your ideal clients organize posts by topic.
You can create a different board for each different topic you are about or that is related to your product or service. Remember to use appropriate keywords in the description and add the URL of the page housing your opt-in form.
For instance, if you provide photography services, you might create one board for headshots and another for wedding photos. You might also create curated content boards. In doing so, you would create boards for things you don’t offer but that contain information or products that are related to what you do offer. For instance, in the photographer example above you could create a board for allied service or other people’s photos if they offer a related service that you don’t offer (like resume service for the headshots, invitation service for the wedding, pet photos if you don’t provide them, etc.)
Another great example of curated boards is to create a board that contains not only pins that link to your lead magnets but also pins created by other people that link to other people’s lead magnets. This increases the value of the board and encourages your ideal client to keep returning to your board.
You can also create different boards for the same topic but for the different stages in the buyer journey. For example, you can create a board for people who are just beginning to look for what you offer, a board for people who have been comparing services or products and a board for people who are almost ready to buy.
You can also create a board for your blog posts. This would include each blog post that you add moving forward so that someone on Pinterest could see the topics covered on your blog.
Lastly, you can create a board with just your opt-in offers. You might have a board that solely features only blog posts where you have an opt-in to get something free.
There are two ways to create a board:
- Create a board when you have not yet created the pin for that board.
- Create a board when you have created the pin for the board.
To create a board when you have not yet created a Pin:
- Go to your account.
- Click on your business profile picture.
- Click on the + on the right hand side.
- Click on ‘Board.’
- Insert a title or name for your board.
- Decide whether to switch on or off the ability to ‘Keep board secret.’
- Click ‘Next.’
- Decide on which pinnable pins you want to put on this board.
- Click ‘Done.’
Keeping the board secret may be great as you are working on the board. But because no one can see it, make sure you switch the toggle so your board is not secret when it’s time to let everyone see it and attract people to your list.
To create a board when you have created a pin:
- Click on the pinnable pin you want to use.
- Click on ‘Create board’ at the bottom of your screen.
- Follow #5 through 8 above.
Remember: you are not limited to one board. As such, make as many boards as make sense for your business, your customer’s journey and what you offer.
The more boards that speak to your ideal client, the greater the likelihood they will find you. But make sure you are creating boards that contain appropriate keywords in the description. Since the keywords are searchable, pick ones your ideal client is using when looking for the product or service you offer.
Conclusion
Building an email list by leveraging your presence on Pinterest is not only easy but also highly effective.
Given that Pinterest is not only a social media platform but also a search engine, your efforts don’t die the moment a post is released. Properly nurtured, your posts and boards can be evergreen.
That’s because posts and boards that are properly crafted once you follow the instruction in this article on how to grow your email list with Pinterest will last for weeks, months and even years.
As such, Pinterest could very well yield one of the best return on investments in time, energy and money for your efforts.
——————————————————————
 I am Laura Rike. I am a Pinterest Strategist who helps high-performing business owners implement content growth plans, outsource their visibility and steadily grow their monthly revenue through her signature growth to greatness framework with done for you services and course packages. If you need a place to start, I offer a free Pinterest masterclass so that you can start getting more visible online & grow sustainably by ranking on the first page of Google and getting targeted email leads daily.